
How to Double Smoke a Ham for Ultimate Flavor: A Step-by-Step Recipe
Share
Double-Smoked Ham Recipe: How to Take Your Pre-Cooked Ham to the Next Level
If you’ve ever found yourself with a pre-cooked, spiral-sliced ham that lacks that smoky, mouthwatering flavor, this recipe is for you! Double smoking a ham is an easy way to elevate an already delicious piece of meat and add that smoky goodness that will have your guests coming back for more. In this post, I’m going to walk you through the process of double-smoking a ham, complete with a homemade glaze that’ll make your taste buds sing.
What You’ll Need:
- Spiral-Sliced Ham: We’re starting with a pre-cooked, hickory smoked spiral-sliced ham. Most hams you find at the store are already cured and smoked, which is why we call this double smoking – we’re adding an extra layer of flavor.
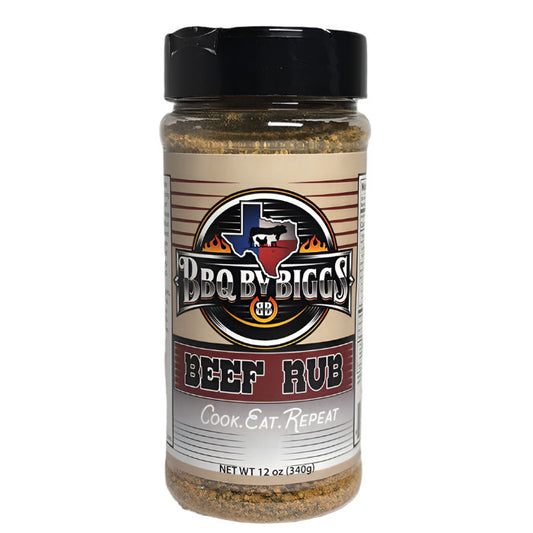
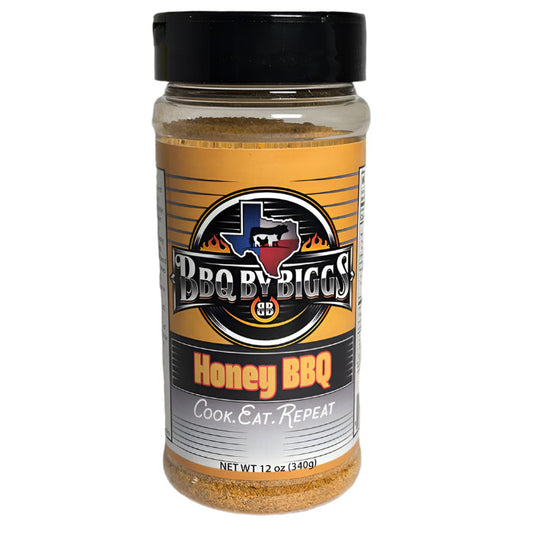
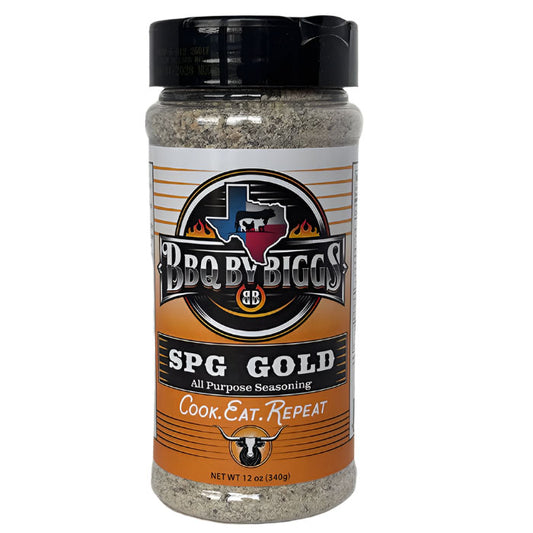
- Barbecue Rub: A simple honey barbecue rub works wonders here. Be mindful to use a rub that’s not too salty since the ham already has plenty of salt from the curing process.
-
Homemade Glaze: We’re making a glaze using:
- ½ cup of apple cider vinegar
- ¼ cup of honey
- ½ cup of light brown sugar
- ½ tsp of ground cloves
- ½ tsp of cinnamon
Step-by-Step Instructions:
Step 1: Prep the Ham
Start by removing the plastic wrapper from the ham. If your ham has a plastic piece holding the slices together, make sure to remove it before cooking. Once that’s done, give the ham a light rub-down with your favorite barbecue rub. You don’t need too much; just enough to add a hint of smoky, savory flavor.
Step 2: Set Up the Smoker
Next, set your smoker to a steady 250°F (you can also go as low as 225°F if you prefer). If you have a smoker with multiple racks, remove the top rack to make room for the ham. Place a water pan in the smoker—about a cup and a half of water is good. For an extra touch, add a cold beer to the pan. While some might question the impact of beer, it actually evaporates quicker than water, creating moisture around the meat and contributing to a more tender final product.
Step 3: Start Smoking the Ham
Place your ham in the smoker, ensuring it sits above the water pan for moisture. Since the ham is already cooked, we’re not trying to cook it through, just infuse it with that smoky flavor. Let it smoke for about 4 hours, checking it every hour or so to make sure it’s not drying out. You can spritz it with a mixture of half apple cider vinegar and half water to keep it moist and add some tangy flavor. After about 3 hours, increase the smoker’s temperature to 275°F to speed up the cooking process and bring the internal temperature up to 140°F.
Step 4: Prepare the Glaze
While the ham is smoking, it’s time to prepare the glaze. Combine apple cider vinegar, honey, brown sugar, cloves, and cinnamon in a saucepan over low heat. Stir it constantly until the glaze thickens and the sugar dissolves completely. You should end up with a smooth, sweet, and spicy glaze.
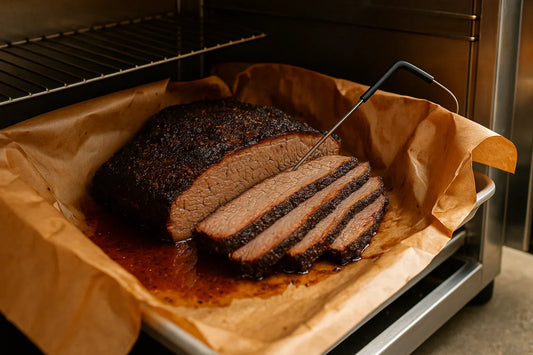
Step 5: Glaze and Finish Smoking
After about 3 hours and 45 minutes of smoking, it’s time to glaze the ham. Brush the glaze generously over the ham, making sure to coat every slice. Be careful not to increase the temperature too much (don’t go above 300°F), as you don’t want to burn the sugars. Let it glaze for another 15-20 minutes to set the beautiful caramelized finish.
Step 6: Serve and Enjoy!
After a total of 4 hours in the smoker, your double-smoked ham is ready to be served! The glaze will have formed a gorgeous crust, and the ham will be juicy and full of smoky flavor. Slice it up and enjoy a fantastic, smoky meal.
Final Thoughts
Double smoking a ham is a simple yet effective way to enhance a store-bought, pre-cooked ham. By adding your own rub and glaze, you’ll elevate the flavor and texture, making it feel like a homemade masterpiece. Whether you’re serving it for a holiday meal, a weekend barbecue, or a special dinner, this double-smoked ham is sure to impress.
Have you tried double-smoking ham before? What’s your go-to glaze or rub? Let me know in the comments below!
Enjoy the delicious smoky flavors of this ham, and be sure to share the recipe with friends and family – it’s a guaranteed crowd-pleaser!
View Step By Step in Video On Youtube Below